
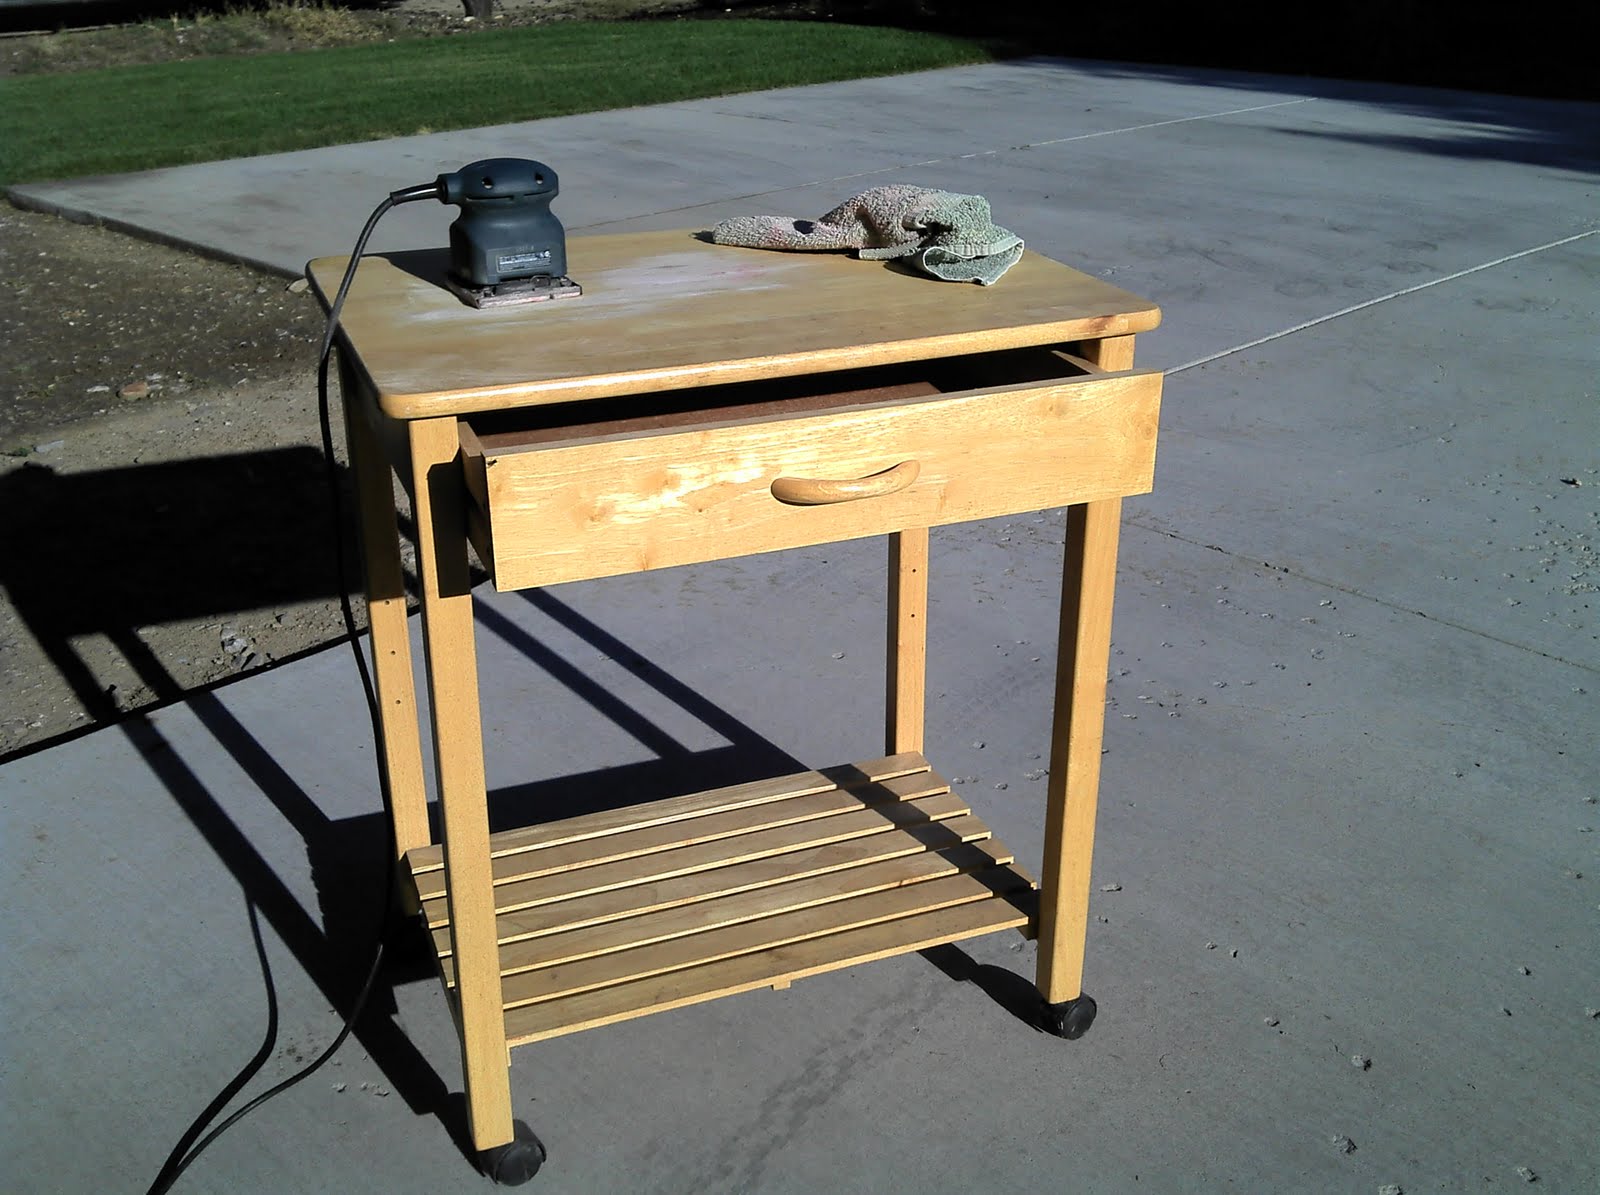
This is what I started with. It had a yellowish varnish on the whole thing which was both a good and bad thing. Good, because I was able to just sand it down to the bare wood. Bad, because it took me FOR.EH.VER. Seriously. I only had a little palm sander and it took me HOURS for this little thing. Thank goodness it was worth it.
Make sure you don't miss any of the old varnish on the top since you will be using a stain and the varnish will prevent your wood from soaking up the color. The legs don't need to be sanded to nearly the same perfection as the top. I just roughed mine up enough that I got the top layer of varnish off so that my paint would stick to the surface.
For my stain color, I chose the second darkest option available at my local hardware store. If you've never used a stain before, make sure you read the instructions. You don't leave the stain just sitting on the top of your wood, it's more of a wax on wax off sort of deal. You apply, then wipe off with a rag, always going WITH the grain. Here's what mine looked like when I finished this step.
(Notice the pretty butterfly sheets that have been the drip rags for every painting project I can remember while growing up.)

Next step, paint the legs the color of your choice. I chose an antique white (the same color as my cupboard before I added the distressing.) Mine only needed two coats, thank goodness.
Then I put a top coat clear varnish on top of my stain to seal everything in and protect my surface. I suggest doing two coats of this, using a really fine grain sand paper in between coats to remove little bumps and bubbles from the surface. Wait until it's completely dry and then BARELY skim the surface, don't push hard at all. Also, I'd wait until painting the legs before doing the varnish because you don't want to accidentally get some on your sanded surface before painting.
The last step was to choose a new drawer handle to match my other furnishings. After drilling some new holes for the handle, because of course the original handle was a random size that I couldn't match, I had a finished product!


Jessie! Your projects are SO great! Good job, they are perfect. I love love love DIY projects, they really are the best. I like your blog, and I am excited that you started it! Keep it up :)
ReplyDeleteKaitie